Installing translucent ceilings is not a task that can be handled in a piecemeal, improvised manner. Unlike conventional finished ceiling systems, translucent ceilings are directly connected to lighting design, ceiling structure, and the electrical system above. Without thorough preparation, common issues can arise such as uneven lighting, visible LED hotspots, difficult maintenance, or even the need for dismantling and reinstallation.
1. Why thorough preparation is essential before installing translucent ceilings
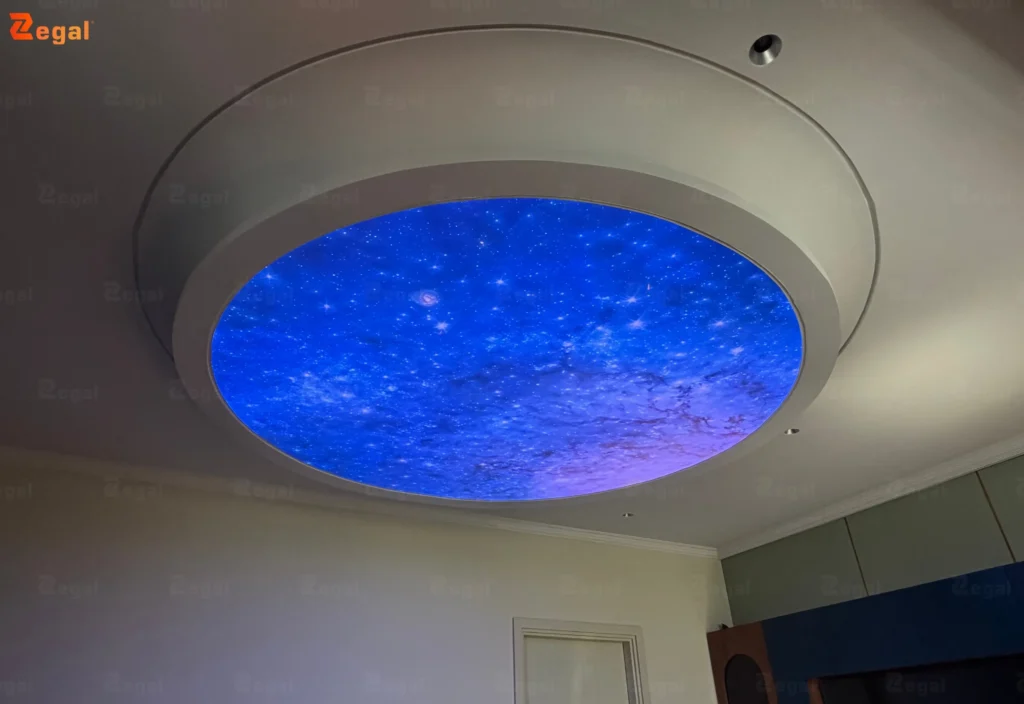
A translucent ceiling is not merely a surface covering, but an integral part of the overall lighting system. Once the ceiling is completed, most technical components above it are fully concealed. This means that any mistakes made during the preparation stage will be extremely difficult to correct later.
Proper preparation before installing a translucent ceiling helps to:
- Ensure uniform lighting and correct functional performance
- Avoid additional costs caused by post installation modifications
- Increase durability and long term system stability
- Maintain lasting aesthetics throughout the lifespan of the ceiling system
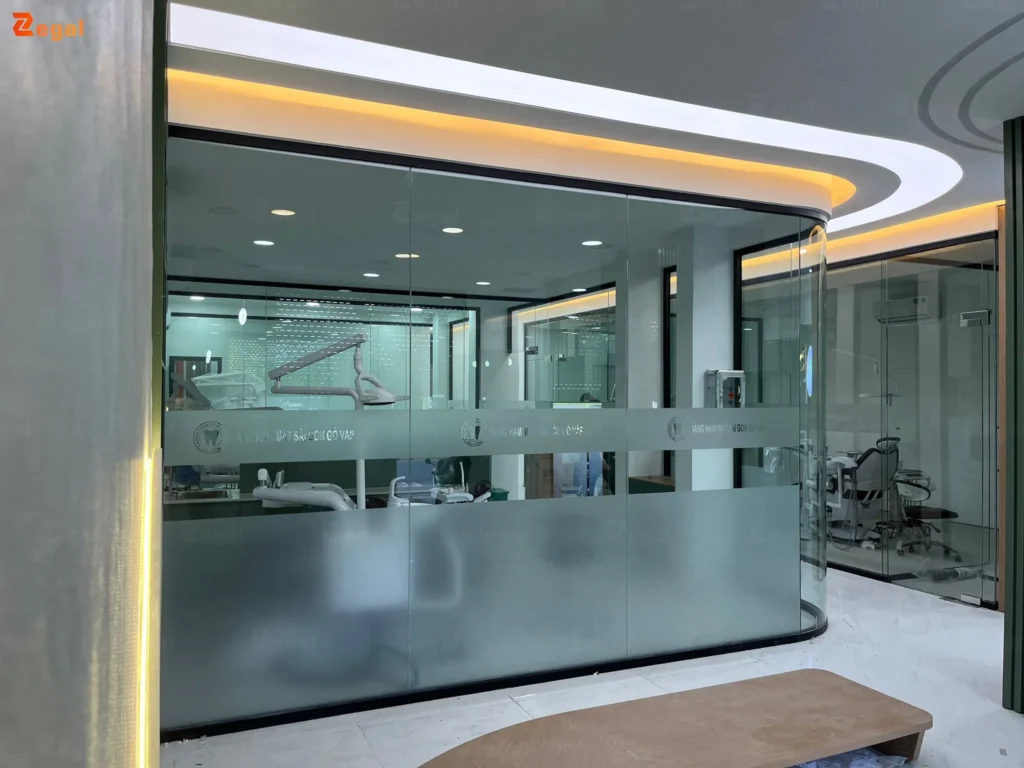
2. Defining the role of the translucent ceiling within the space
Before installing a translucent ceiling, it is essential to clearly define the role it will play within the overall lighting scheme.
- Is the ceiling intended to be the primary light source or simply a background ambient layer?
- Is it meant to support functional lighting needs, or is it more focused on creating spatial atmosphere and emotion?
- Does the ceiling require static lighting, or should it allow adjustable brightness levels?
Clearly defining this role helps create a cleaner and more efficient lighting system, avoiding situations where a translucent ceiling is installed but additional lighting fixtures are still required to compensate.
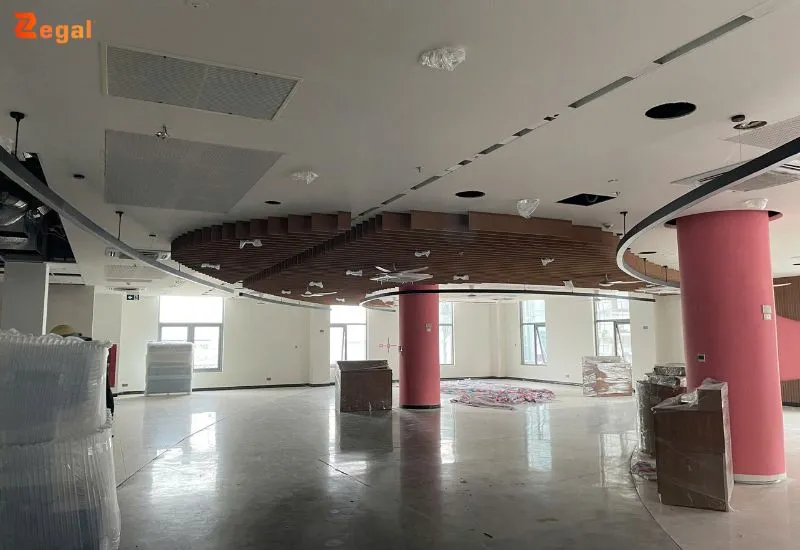
3. Checking the ceiling structure before installing a translucent ceiling
3.1 Ceiling height and plenum depth
A translucent ceiling requires sufficient space above it to allow light to diffuse properly before passing through the membrane. If the plenum is too shallow, the light can appear harsh and LED points may become visible.
Before installation, it is necessary to check:
- The existing ceiling height
- The desired finished ceiling level
- The allowable ceiling drop relative to the original structure
This step is especially critical for renovation projects or apartments with low ceiling heights.
3.2 Reviewing technical systems above the ceiling
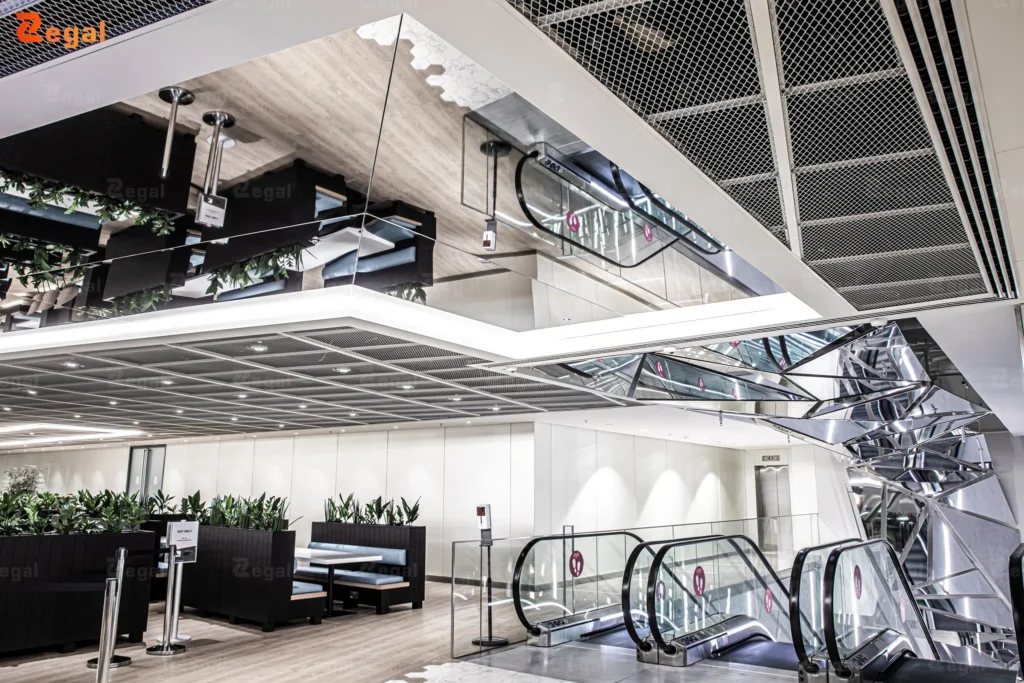
All electrical systems, air conditioning units, ductwork, and technical piping above the ceiling must be carefully reviewed before installing a translucent ceiling. This helps prevent conflicts between the ceiling and other systems, and ensures that future technical adjustments will not require dismantling the finished ceiling.
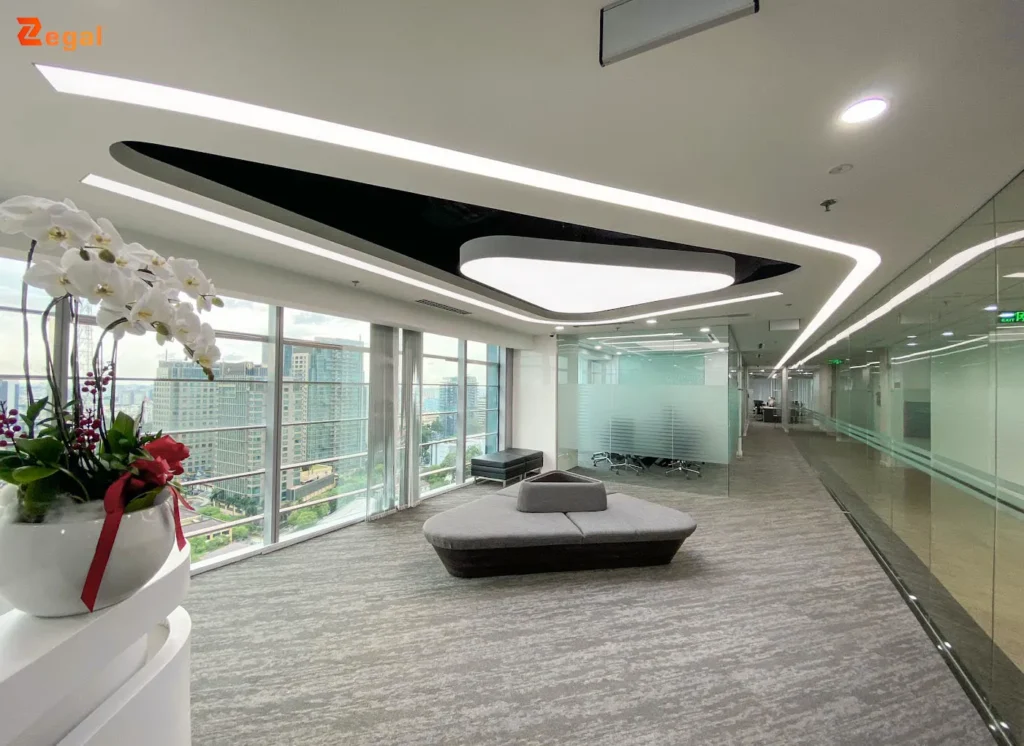
4. Preparing the lighting solution for translucent ceilings
4.1 Selecting the appropriate LED type
Not all LED types are suitable for translucent ceilings. Before installation, it is necessary to determine:
- Single color LED, tunable white (CCT), or color changing options
- Color temperature that matches the spatial function
- Stability and color rendering index (CRI)
The LED selection directly affects light quality and overall spatial perception.
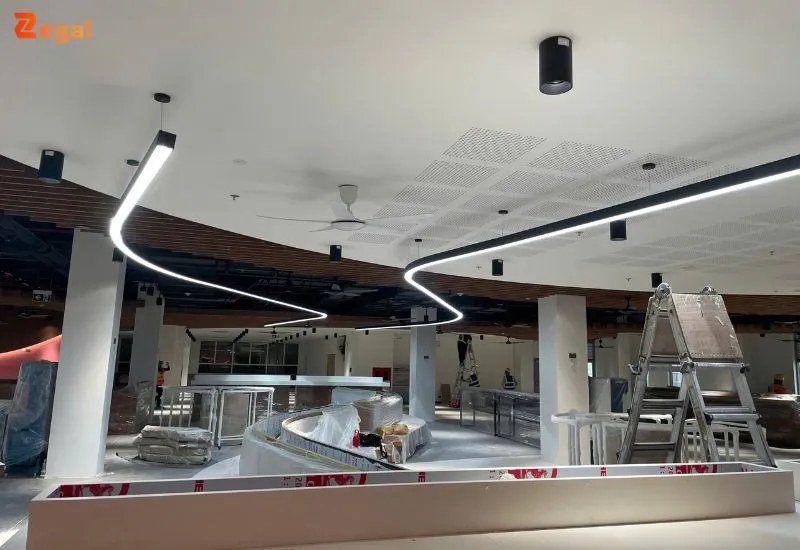
4.2 Calculating LED density and spacing
LED layout spacing determines the smoothness and uniformity of the light output. If LED density is too low or the distance between the LEDs and the membrane is not properly calculated, the light may appear uneven or individual LED points may become visible.

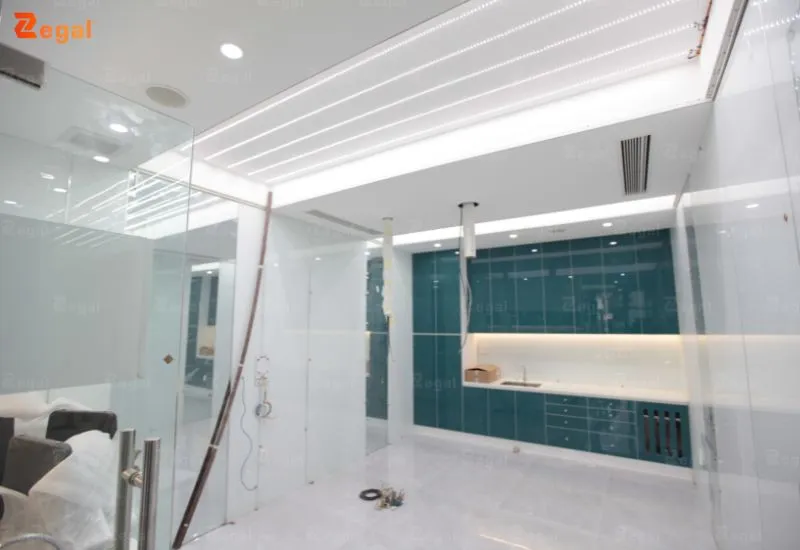
5. Preparing the electrical and control systems before installing translucent ceilings
5.1 Driver placement and technical access
LED drivers must be positioned in locations that are easy to access for maintenance. Before installing the translucent ceiling, it is important to clearly determine:
- Whether drivers are installed centrally or distributed
- Whether there is access for inspection and replacement when needed
- The heat dissipation solution for the drivers
Proper driver placement helps ensure stable long term operation of the ceiling system.
5.2 Defining the lighting control solution
Translucent ceilings can be controlled via switches, dimmers, or smart home systems. Defining the control method early helps avoid electrical modifications later, once the ceiling has already been completed.
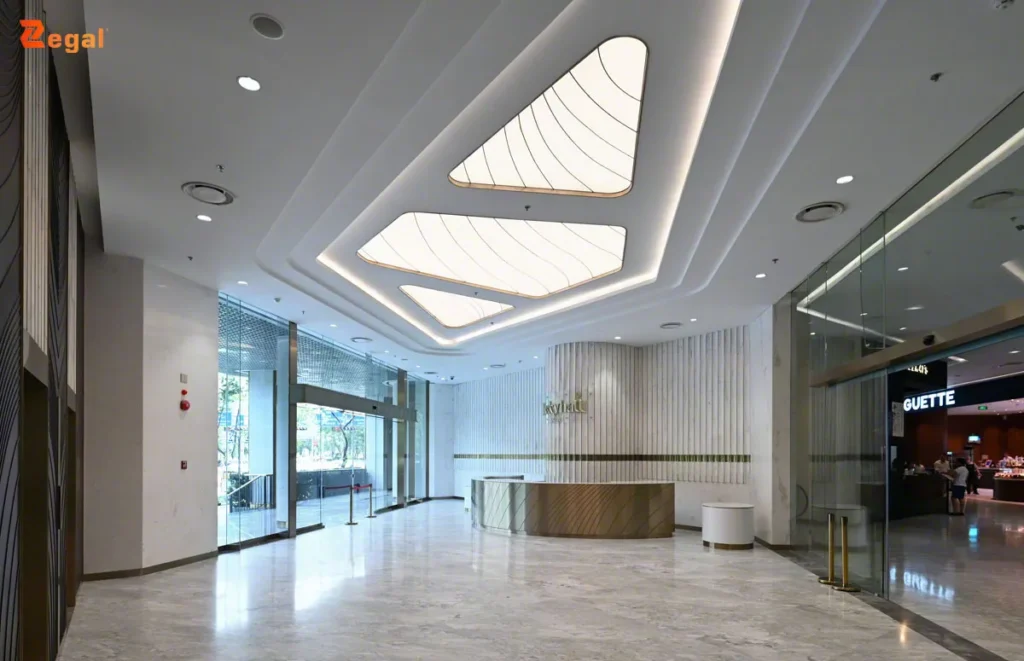
6. Selecting the appropriate translucent panel before construction
The translucent panel serves both as the finished ceiling surface and as the medium that diffuses light directly. Therefore, material selection should be based on:
- Light transmission level
- Surface color
- Color stability and resistance to yellowing or staining
Choosing the right material helps ensure soft, even illumination and long term lighting quality over time.
7. Preparing technical drawings for translucent ceilings
7.1 Dimension drawings and ceiling module layout
The drawings should clearly show the dimensions of each ceiling section, how modules are divided for large ceiling areas, as well as corner and edge details. Without detailed drawings, construction errors and misalignments are very likely to occur.
7.2 Membrane tensioning method and edge detailing
The membrane tensioning technique and edge finishing directly determine the ceiling’s visual quality. These methods should be agreed upon in advance and not handled as on site improvisations during construction.
8. Conclusion
Installing a translucent ceiling is not a standalone finishing step, but a process that requires thorough preparation from the very beginning. When the ceiling structure, lighting system, and electrical control are properly planned during the preparation stage, a translucent ceiling can fully realize its aesthetic value, functional performance, and long term durability throughout its use.
——
——
For further consultation, please contact Zegal Vietnam using the information below:
Zegal Hanoi
112 Vo Chi Cong, Nghia Do Ward, Hanoi
Zegal Ho Chi Minh
319–C9 Ly Thuong Kiet, Phu Tho Ward, Ho Chi Minh City
Hotline: +84969 14 6688