

The installation process for a “starlight ceilings” ceiling must be carried out in a systematic, step-by-step manner to create a realistic night-sky effect while ensuring a high-quality aesthetic. Depending on the chosen finishing materials, a starry ceiling can be constructed using a fiber-optic system integrated into a gypsum board or a translucent, stretch-ceiling membrane. Each approach entails specific installation methods, surface treatment techniques, and technical requirements.
1. What is a starlight ceilings
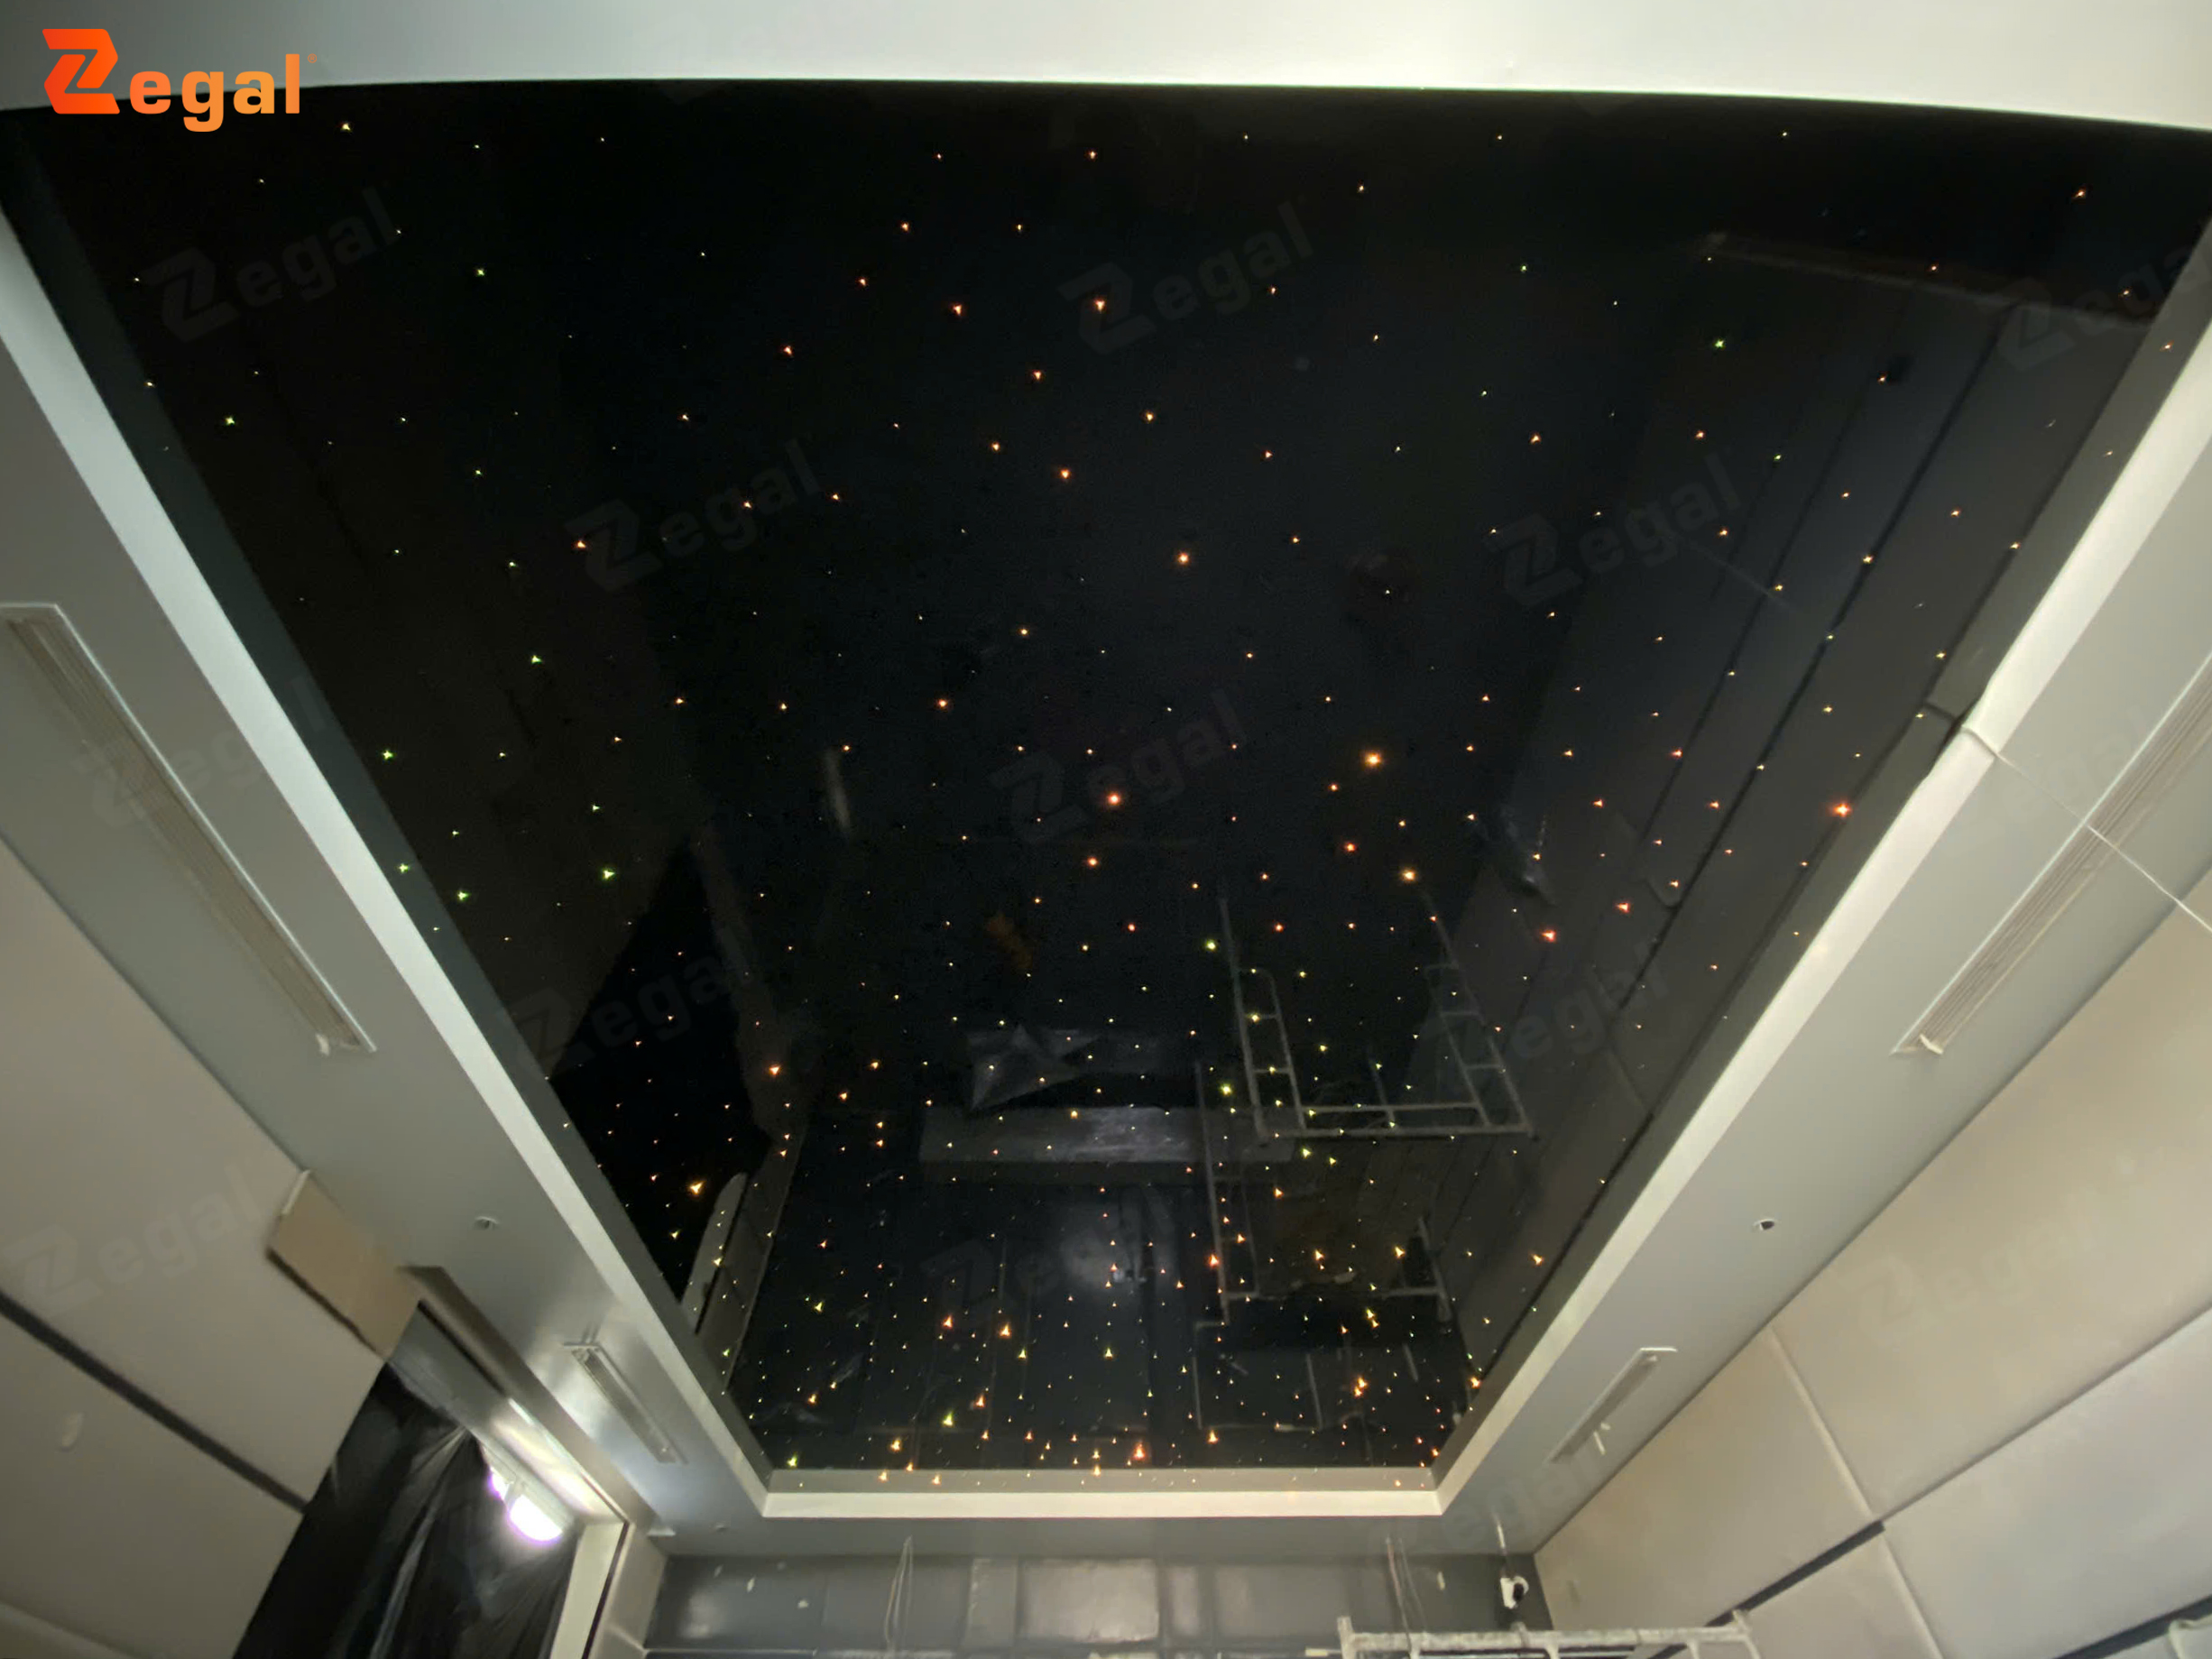
A starlight ceilings is a decorative ceiling solution that incorporates a lighting system to simulate a night sky filled with thousands of points of light. The illumination is produced by the tips of optical fibers or a specialized lighting system. Through flexible arrangement, a starry ceiling can recreate constellations, galaxies, or a shimmering, twinkling effect.
Currently, “starry sky” ceilings are typically installed using one of two primary methods:
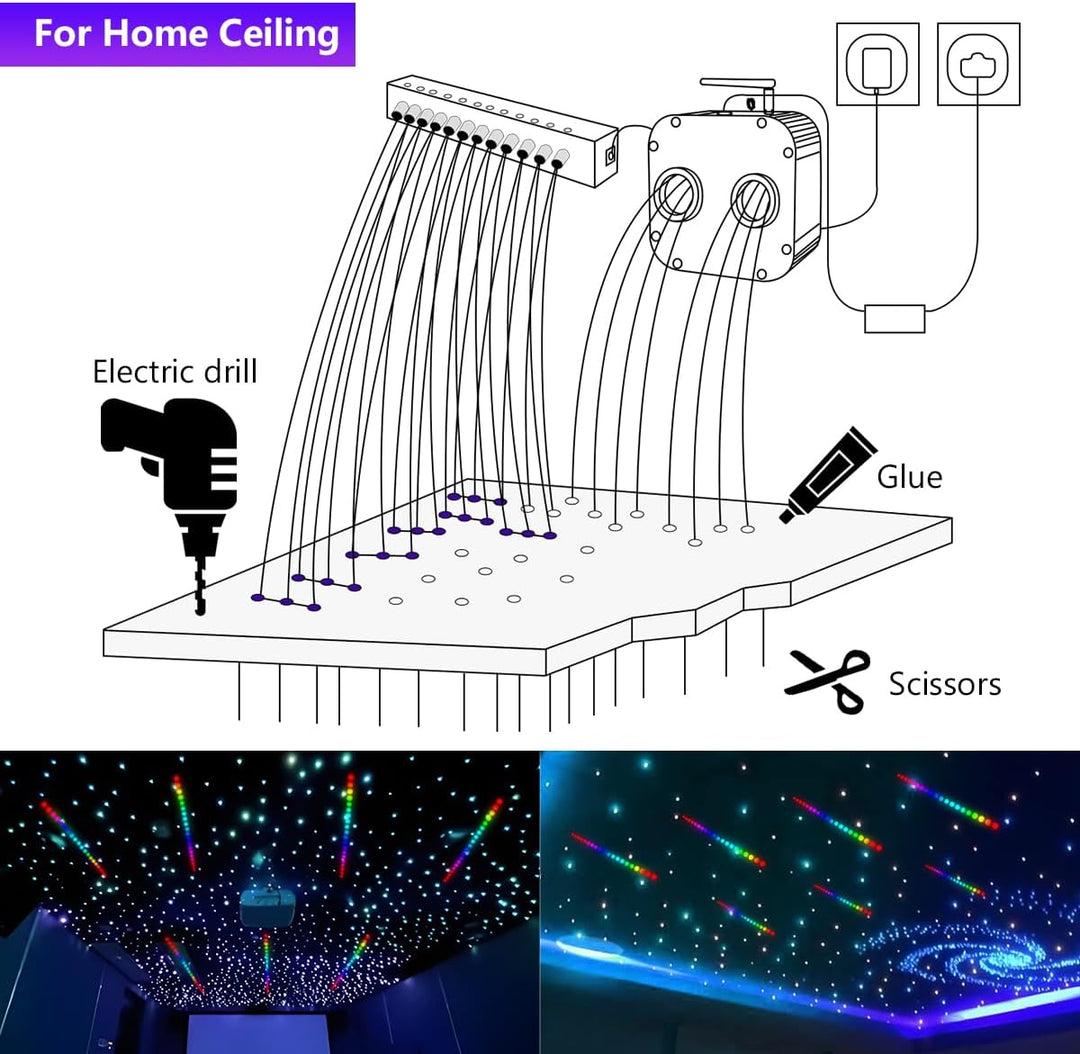
Gypsum-based starry ceilings: Optical fibers are threaded through small holes drilled into the gypsum surface.
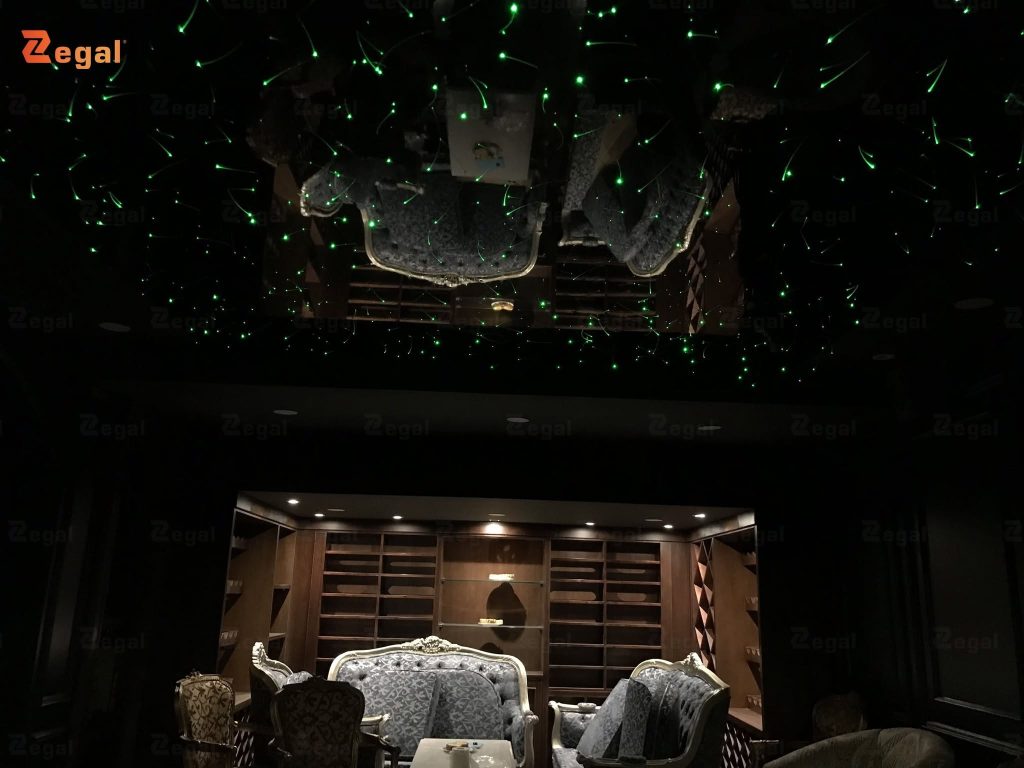
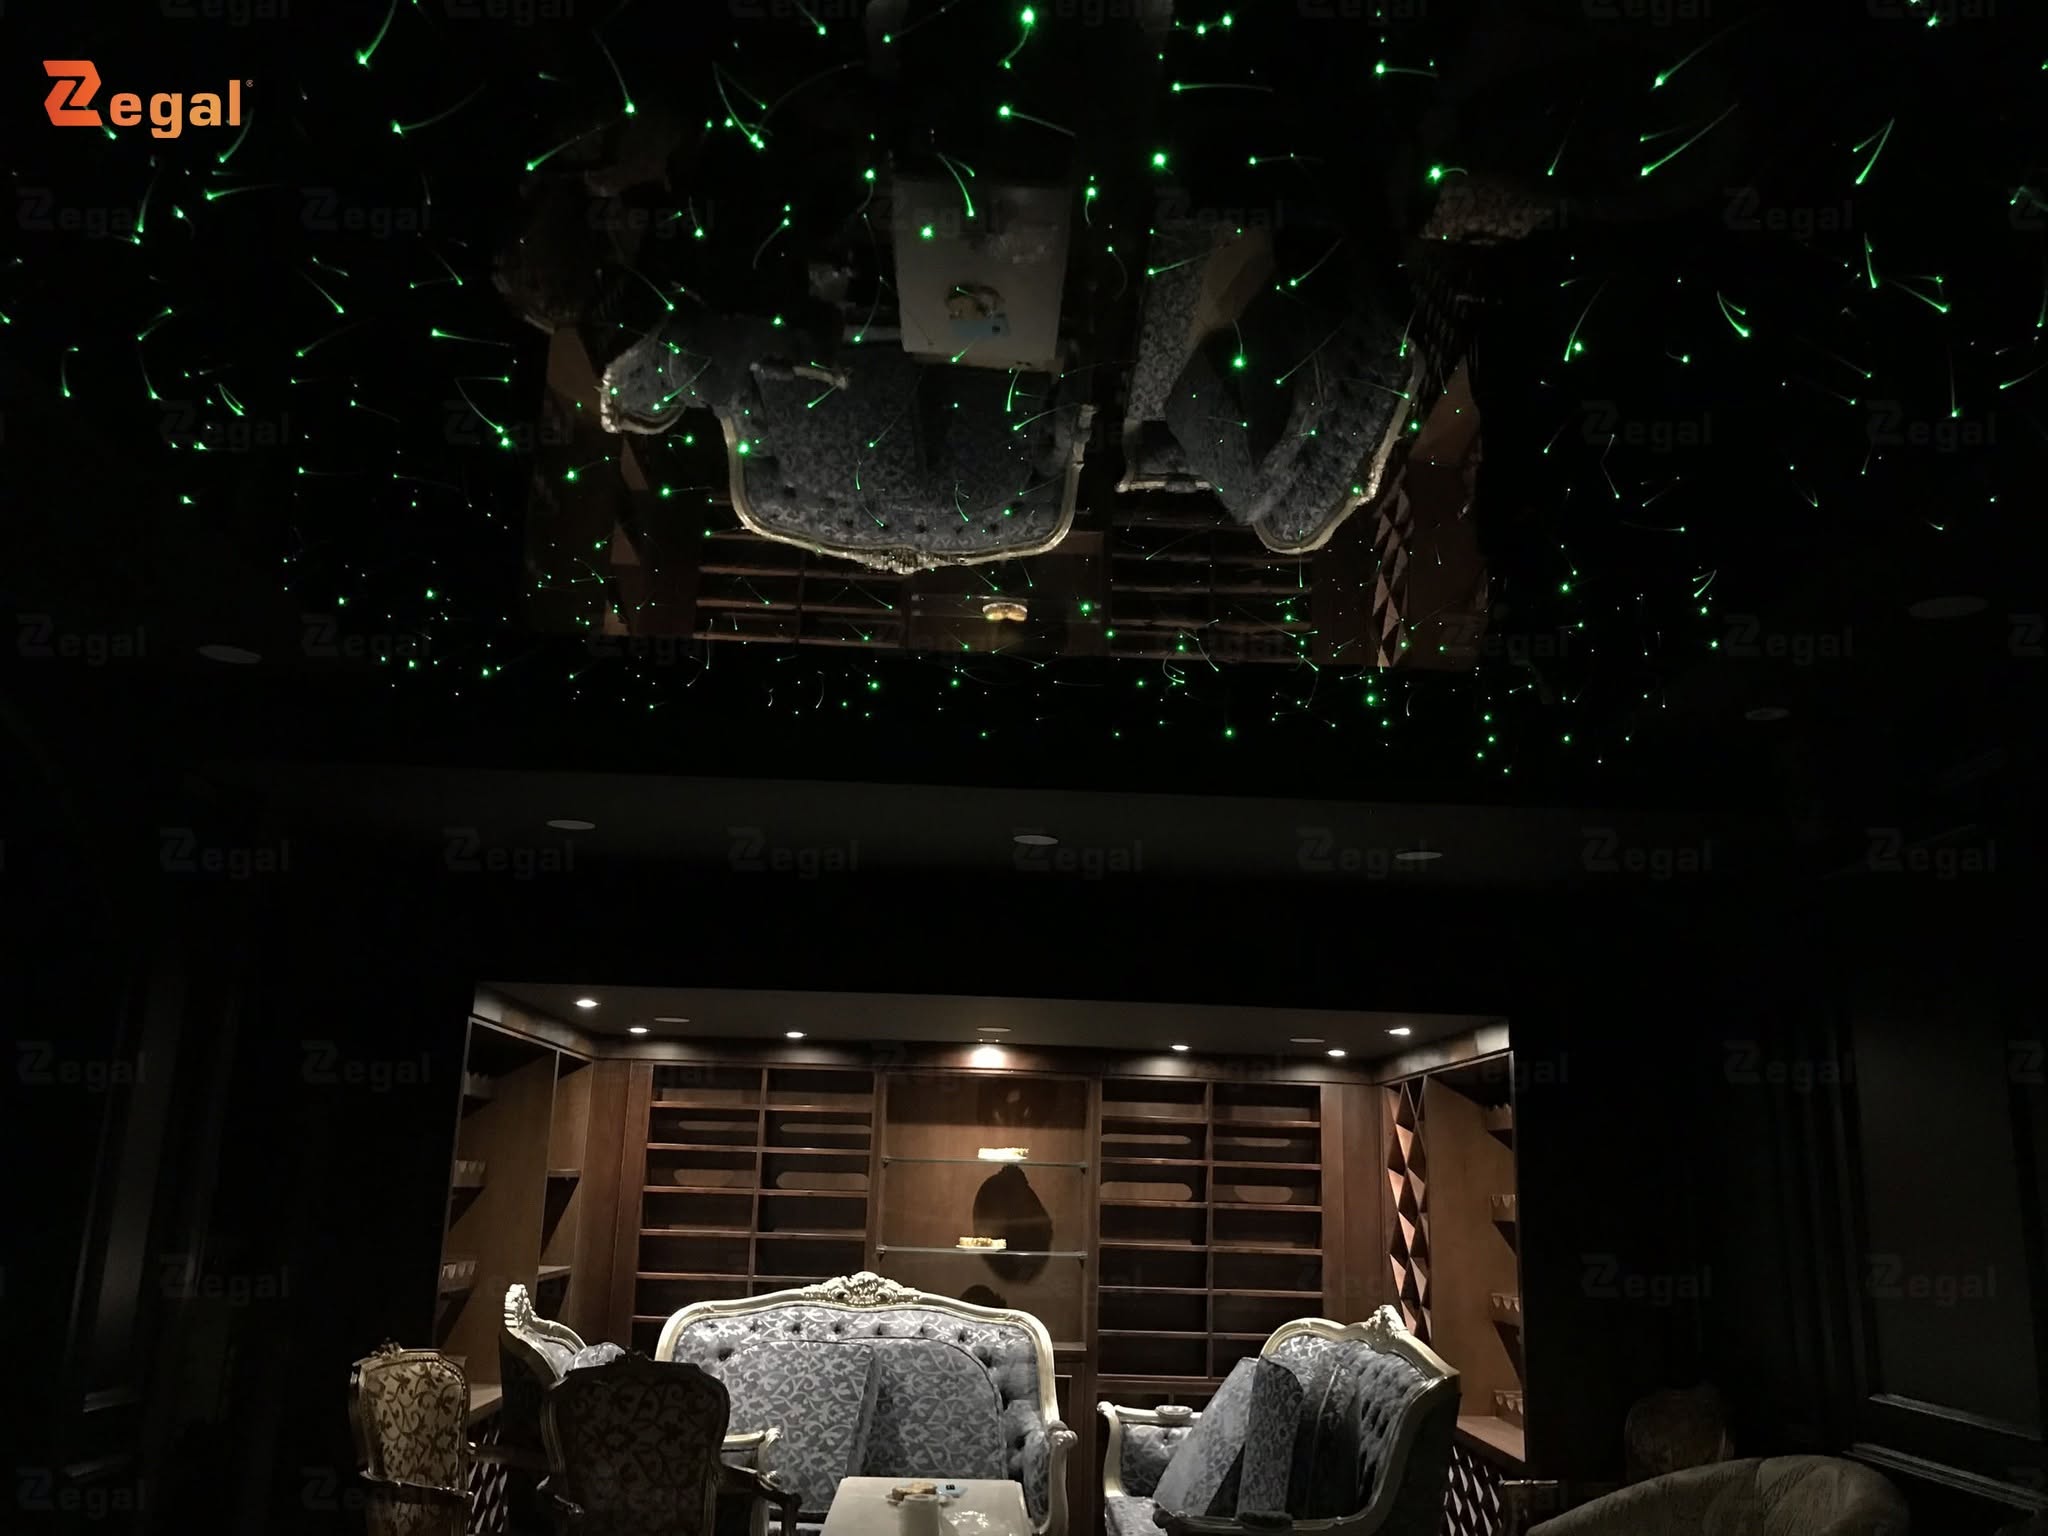
Stretch-ceiling (membrane) starry ceilings: Optical fibers are passed directly through a specialized stretch membrane. The membrane surface, combined with the points of light, creates an effect of depth within the space.
The choice of method depends on the design, materials, the existing condition of the site, and the desired visual effect.
2. Installation process for gypsum-based starry ceilings
2.1. Site assessment and design planning
First, the installation team must assess the dimensions, ceiling height, and existing structural conditions. If a gypsum ceiling is already in place, the accessibility of the space above the ceiling must be evaluated. For new construction, coordination between the teams responsible for the structural framework, gypsum installation, and the optical fiber system must be established from the outset.
During this stage, the technical team determines the placement of the light source, the routing of the optical fibers, and the density of the “stars.” The design plan should also specify areas with concentrated lighting and any desired motion effects.

2.2. Constructing the Framework and Shaping the Ceiling
Once the design is finalized, the construction team installs the framework according to the blueprints. The ceiling can take various forms—flat, rectangular, circular, or curved—depending on the specific space.
For a simple rectangular ceiling, gypsum boards are installed onto the pre-configured framework. For designs featuring curves or ellipses, additional layers of gypsum may be required to achieve a smooth, uniform, curved surface. The placement of lighting fixtures must be carefully planned to ensure ease of future maintenance.
2.3. Finishing the Gypsum Surface
After the framework is complete, the team installs the gypsum boards and treats the joints. The ceiling surface must be smoothed and leveled before the final paint or finish is applied according to the design.
If a gypsum ceiling is already in place, the construction team will conduct an assessment to determine the best approach for drilling holes and routing the optical fibers. It is essential to verify the locations of the framework, electrical wiring, and other technical systems concealed above the ceiling to avoid compromising the existing structure.
2.4. Drilling Holes and Routing Optical Fibers
Once the ceiling surface is ready, technicians mark the positions for the “stars” based on the design. Small holes are drilled at these marked points, through which the optical fibers are threaded.
The optical fibers are categorized by diameter, length, and installation location. This arrangement creates light points of varying sizes, lending a more natural appearance to the “starry sky” effect. During installation, care must be taken to avoid sharp bends or excessive tension, which could impair the fibers’ light-transmission capabilities.
2.5. Connecting the Light Source and Controller
The optical fibers are gathered and connected to a dedicated light source—typically an LED-based illuminator. The light source can be configured to produce color-changing or flickering effects, depending on the design requirements.
The light source must be positioned in a well-ventilated area that allows for easy access for inspection and replacement. Wiring and control units must be connected in strict accordance with technical guidelines. The installation team should verify that the light source is functioning correctly before finalizing the last details.
2.6. Processing fiber optic ends and surface finishing
Once the fibers are threaded, technicians must process the ends according to the ceiling system’s specifications. The fiber ends should be trimmed neatly and arranged uniformly, ensuring they do not create a rough or uneven appearance on the surface.
For gypsum (plasterboard) ceilings, any decorative painting or color finishing is carried out as per the design. The fiber optic ends must be protected during this process to prevent paint or coatings from diminishing their brightness. Once the finish meets the required standard, the installation team should conduct a final inspection of all the “star” points.
2.7. Lighting inspection and final acceptance
This stage involves evaluating the quality of the installation. Technicians activate the system to check the brightness, color, and the performance of the lighting effects. Any points that are dim, unlit, or unevenly distributed must be addressed. Additionally, the team should verify the power supply, control units, and accessibility of the equipment for future maintenance. Once all components meet the requirements, the area is cleaned and handed over to the client.
3. Installation process for glossy-finish star ceilings
Unlike gypsum ceilings, glossy-finish star ceilings utilize a specialized reflective surface to enhance the visual effect. Since the fiber optics are threaded directly through the glossy panels, precise control over the placement of the fiber penetrations and the quality of the surface finish is essential.
3.1. Measuring and Preparing the Framework
The installation team measures the dimensions of the designated area, determines the ceiling shape, and identifies the placement for light sources. The framework is installed according to the design, ensuring structural integrity and compatibility with the stretch ceiling material.
3.2. Preparing the Stretch Ceiling Membrane and Mapping Star Points
The stretch ceiling membrane is prepared based on the required dimensions and design specifications. The locations for the optical fibers must be mapped out in advance to achieve the desired star density. The layout should be balanced, ensuring an appropriate distribution between areas with a high concentration of stars and those with fewer stars.
3.3. Threading Optical Fibers Through the Membrane
Technicians thread each optical fiber through the pre-marked positions on the membrane. The fiber ends are carefully finished to avoid tearing or deforming the surface. Throughout the process, the membrane must be kept clean, and care should be taken to avoid applying excessive force to the material.
3.4. Connecting the light source and verifying the effects
The fiber optic bundle is connected to a dedicated light source. Once the system is powered on, the technician checks the brightness of the “star” points and any color-changing effects, if applicable. The surface of the installation must also be inspected from various angles to identify any finishing defects.
3.5. Cleaning and handover
Upon completion, the installation team cleans the surface and performs a final check of all connections. The client is provided with instructions on how to use the control system, operate the lighting effects, and maintain the light source in accordance with the manufacturer’s recommendations.
4. Factors Affecting the Quality of a Starlight Ceiling
4.1. Fiber Optic Density and Diameter
The density of the optical fibers determines the number of light points on the ceiling surface. Using fibers of varying diameters creates stars of different sizes; incorporating a mix of diameters results in a more natural effect compared to a uniform layout.
4.2. Quality of the Light Source
The light source directly influences the brightness and color effects of the starlight ceiling. The power unit must be compatible with the fiber optic bundle and meet specific operational requirements. Selecting the right equipment also simplifies long-term operation and maintenance.
4.3. Installation and Finishing Techniques
Holes for the optical fibers must be precisely positioned and correctly sized. During installation, fibers should not be excessively bent or stretched. The ceiling surface must be finished with care to ensure that no technical flaws or imperfections are visible.
4.4. Ease of Maintenance
The light source and control unit should be placed in an accessible location for future inspections. Before construction begins, a plan for an access panel or a method to reach the equipment must be established. This is crucial for minimizing difficulties during long-term use.
5. Considerations for Starlight Ceiling Installation
To ensure the starlight ceiling system functions reliably and achieves the desired aesthetic, keep the following points in mind:
Finalize the design plan before construction: Determine the star density, colors, and desired visual effects.
Coordinate between construction teams: Establish a clear sequence for framing, ceiling finishing, and fiber optic installation.
Protect the optical fibers during finishing: Ensure that paint or other materials do not cover the light-emitting tips of the fibers.
Ensure electrical safety: The light source and control unit must be installed in strict accordance with technical guidelines. Plan for maintenance: Position light sources in locations that allow for easy access and inspection.
Conduct final inspection under appropriate conditions: Evaluate the effect in an environment dark enough to clearly assess the individual “star” points.
6. Where are “starry sky” ceilings suitable for use?
“Starry sky” ceilings can be installed in bedrooms, home entertainment rooms, karaoke lounges, hotels, and various commercial or service spaces. The night-sky effect creates a striking visual focal point and enhances the overall spatial experience.
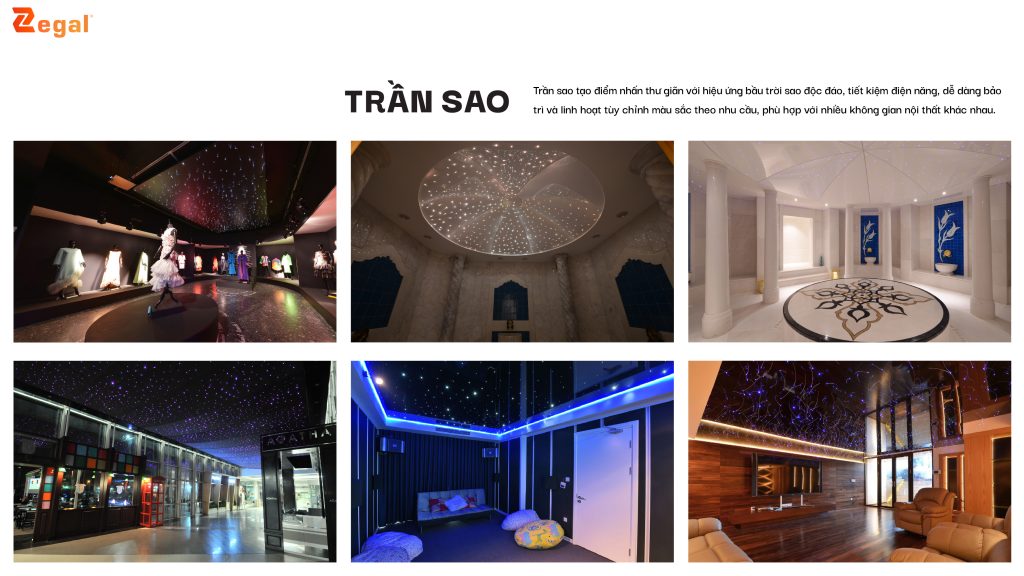
For bedrooms, designs typically prioritize soft lighting and a moderate density of “stars.” In entertainment rooms or commercial spaces, the system can incorporate color-changing effects to align with the overall design concept. The construction method should be selected based on ceiling height, materials, and the intended use of the space.
7. Conclusion
The installation process for a “starry sky” ceiling involves several stages: site assessment, ceiling shaping, fiber optic installation, light source connection, and final inspection. Each step influences the uniformity of the light points and the overall quality of the finished installation.
Depending on the design, one may choose between a gypsum-based or a stretch-ceiling (membrane) “starry sky” system. Conducting a thorough site assessment, following the correct installation sequence, and selecting appropriate materials are essential to achieving the desired effect. To determine the best construction approach, it is recommended to consult with professionals, using your project’s design drawings and actual site conditions as a basis.
——
For further consultation, please contact Zegal Vietnam using the information below:
Zegal Hanoi
112 Vo Chi Cong, Tay Ho District, Hanoi
Zegal Ho Chi Minh City
319 – C9 Ly Thuong Kiet, Phu Tho Ward, Ho Chi Minh City
Hotline: 0969 14 6688